Size Guide
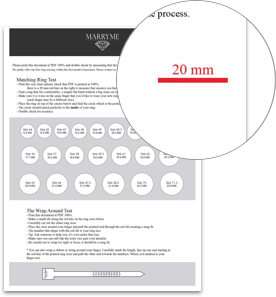
Please print this document at PDF 100% and double check by measuring that the red line to the right is in fact 20 mm long.
We gladly offer one free ring resizing within the first month of purchase. Please contact us at [email protected] for details on the process.
Matching Ring Test
- Print this size chart (please check that PDF is printed at 100%;
there is a 20 mm red line on the right to measure that ensures you have printed correctly). PDF DOWNLOAD - Find a ring that fits comfortably; a simple flat band without a big stone on top is easiest.
- Make sure it is worn on the same finger that you’d like to wear your new ring. (each finger may be a different size).
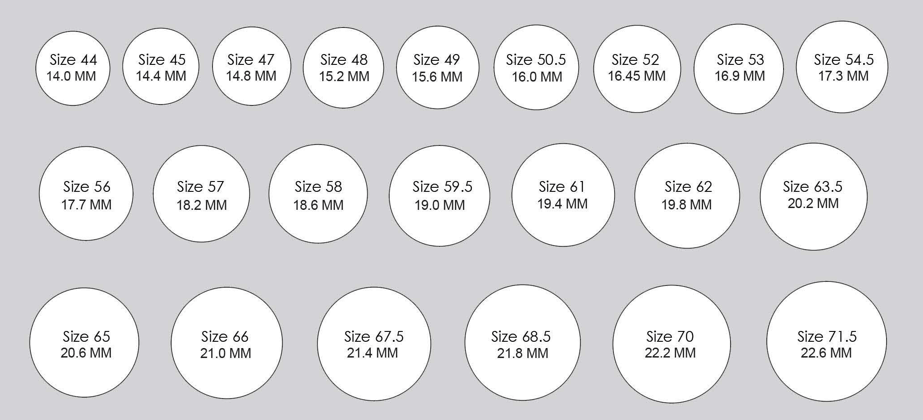
- Place the ring on top of the circles below and find the circle which is the perfect match to your ring. - The circle should match perfectly to the inside of your ring.
- Double check for accuracy.


The Wrap Around Test
- Print this document at PDF 100%. PDF DOWNLOAD
- Make a small slit along the red line on the ring sizer below.
- Carefully cut out the entire ring sizer.
- Place the sizer around your finger and pull the pointed end through the red slit creating a snug fit.
- The number that aligns with the red slit is your ring size.
- Tip: Ask someone to help you, it’s a lot easier that way.
- Make sure you can still slip the tester size past your knuckle.
- Be careful not to wrap too tight or loose; it should be a snug fit.
* You can also wrap a ribbon or string around your finger. Carefully mark the length, line up one end starting at the red line of the printed ring sizer and pull the other end towards the numbers. Where you marked is your finger size.

